Laptopsy,
April 10, 2006
Laptop
computer autopsy: a laptop has developed a strange problem. The machine
is a Gateway laptop with an AMD 3000+ (1800 MHz) Mobile Athlon 64 processor.
When the machine is plugged into the AC adapter the machine will boot up
and run normally, for awhile. Then, usually when the cpu is under
load, the fans will spin up and the machine shuts down without warning.
It will then start up again normally without a problem. It will even
run ok, if unplugged and running on battery.
Web research
says to clean out accumulated dust because the cooling air passages are
clogged. The theory is the cpu is heats up abnormally and temperature sensors
then save the cpu by shutting it down. I tried blowing the ports
out with compressed air and very little dust escaped. So this was
not a likely scenario. Also some hint that the cpu to cpu cooler
interface needs to be reseated with fresh thermal transfer compound.
The theory is that high temperatures dried out the thermal transfer compound
and some kind of separation has occurred. Or that thermal cycling
has somehow squeezed the compound out. I thought this sounded possible
and was not afraid to dig into the machine. Here are the photos of
the machine disassembled. Read the results at the bottom of the page.
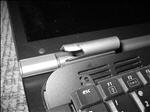
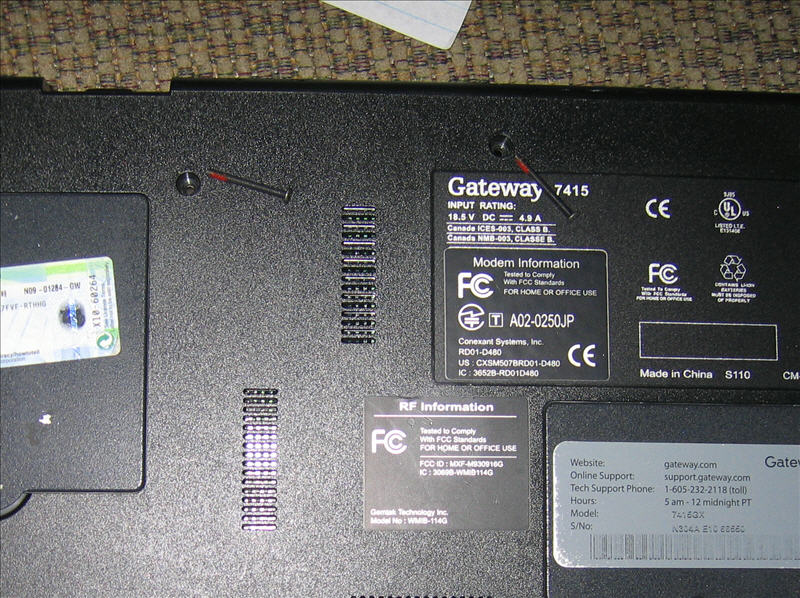
 Bottom
view of the laptop, I removed the two necessary screws and set them near
the holes they came from. Note the thread locking compound on the
tips of the threaded portion, this helps the screws stay in by being sticky.
It is red and sometimes blue.
Bottom
view of the laptop, I removed the two necessary screws and set them near
the holes they came from. Note the thread locking compound on the
tips of the threaded portion, this helps the screws stay in by being sticky.
It is red and sometimes blue.
 This
model of laptop is famous for it's spontaneously cracking hinge.
I mean famous, it seems to be a well known, well documented and unsolved
problem. Of course I didn't find out about it until after I purchased
this laptop. Take a look at this left side hinge crack, it looks
bad. But remember that the photo shows disassembled parts.
The laptop seems to function with the crack. The screen will open,
close and stay in position after you move it. So we live with it,
or should I say we baby it.
This
model of laptop is famous for it's spontaneously cracking hinge.
I mean famous, it seems to be a well known, well documented and unsolved
problem. Of course I didn't find out about it until after I purchased
this laptop. Take a look at this left side hinge crack, it looks
bad. But remember that the photo shows disassembled parts.
The laptop seems to function with the crack. The screen will open,
close and stay in position after you move it. So we live with it,
or should I say we baby it.
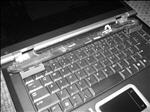 With
the two screws removed form the back this plastic piece can be pried off.
I worked from left to right and back to front. There are latching
points behind the screen on the hinge covers and one in the back edge nearer
the right side. This part is connected by wires so you just place
it to the side and expose the two keyboard retention screws.
With
the two screws removed form the back this plastic piece can be pried off.
I worked from left to right and back to front. There are latching
points behind the screen on the hinge covers and one in the back edge nearer
the right side. This part is connected by wires so you just place
it to the side and expose the two keyboard retention screws.
 Here
is another view of the front plastic piece removed, you can see more clearly
the latching points.
Here
is another view of the front plastic piece removed, you can see more clearly
the latching points.
 Ok,
I breathe again and continue. After the two screws holding the keyboard
are removed and you slide the keyboard out of the way, you see a sheet
metal cover with four screws holding it in. Two screws are long and
two are very short. This photo shows the back side of the keyboard
because it is flipped forward. The sheet metal cover with four screws
(two long and two short) removed are not shown.
Ok,
I breathe again and continue. After the two screws holding the keyboard
are removed and you slide the keyboard out of the way, you see a sheet
metal cover with four screws holding it in. Two screws are long and
two are very short. This photo shows the back side of the keyboard
because it is flipped forward. The sheet metal cover with four screws
(two long and two short) removed are not shown.
 Detail
view showing the two through holes coming from the back and the two tapped
holes in the back side of the fascia..
Detail
view showing the two through holes coming from the back and the two tapped
holes in the back side of the fascia..
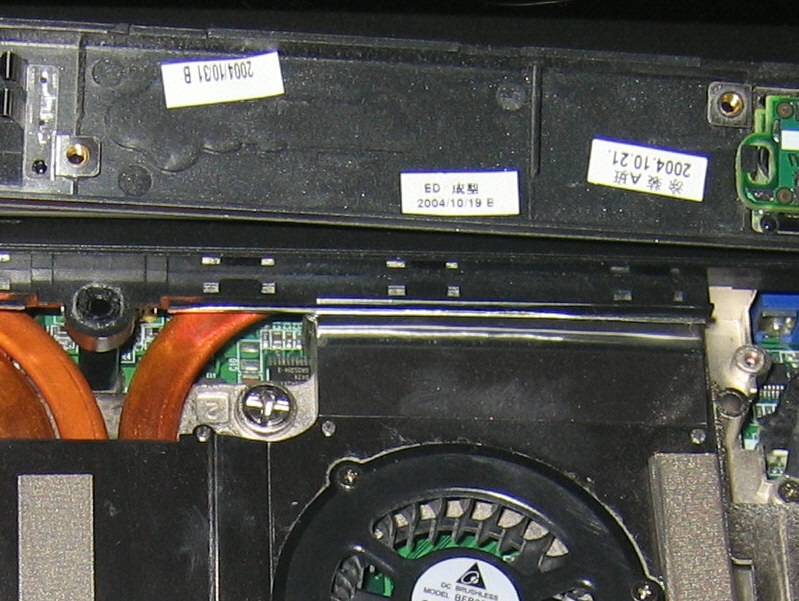
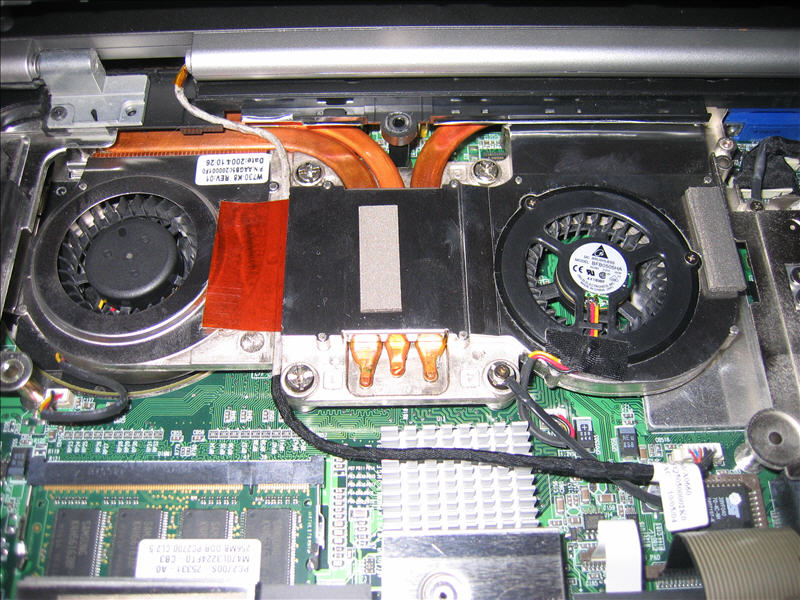
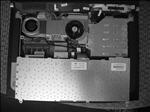
 Detail
views of the cpu cooler and the four screws holding it down. The
lower right screw has a very small screw and wire attached to the head
of the screw. There is another wire running across the cpu cooler/heat
exchanger and it is held down with a stiff piece of transparent orange
tape, Kapton. You can also see the internal memory module in the
lower left. There are two memory modules, SODIMM, one internal and one
that can be accessed from the bottom of the laptop.
Detail
views of the cpu cooler and the four screws holding it down. The
lower right screw has a very small screw and wire attached to the head
of the screw. There is another wire running across the cpu cooler/heat
exchanger and it is held down with a stiff piece of transparent orange
tape, Kapton. You can also see the internal memory module in the
lower left. There are two memory modules, SODIMM, one internal and one
that can be accessed from the bottom of the laptop.
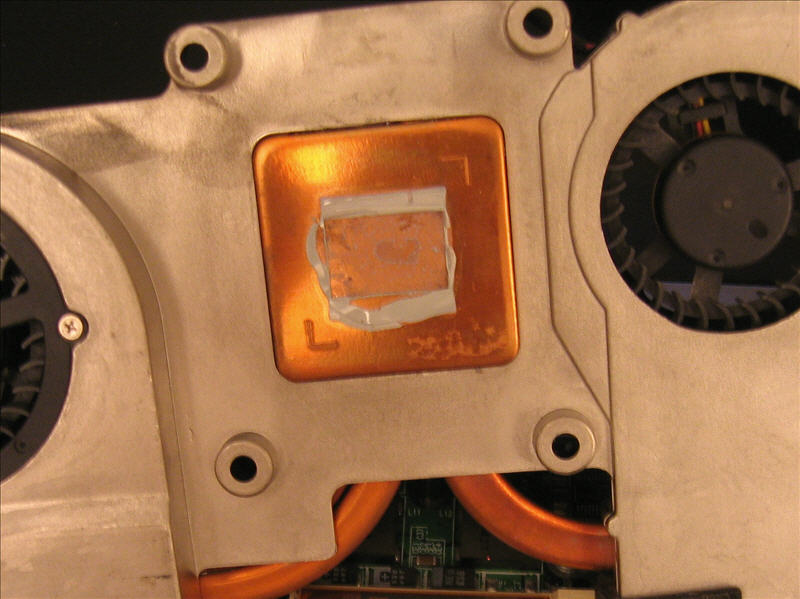
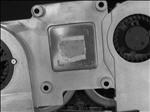 The
cpu cooler is removed and you can see the thermal pad that has been crushed
and smashed. This is normal and thermally connects the two metal
surfaces so that heat can travel easily from one rough surface to another.
The
cpu cooler is removed and you can see the thermal pad that has been crushed
and smashed. This is normal and thermally connects the two metal
surfaces so that heat can travel easily from one rough surface to another.
 This
is what the cpu looks like. I cleaned both surfaces with alcohol
till they were shiny and clean.
This
is what the cpu looks like. I cleaned both surfaces with alcohol
till they were shiny and clean.
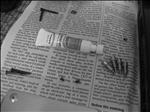 I
placed one drop of new thermal compound onto the cpu and replaced the cpu
cooler and replaced all the components and screws. Here is a photo
of all the screws removed and the tube of thermal transfer compound from
Radio Shack. You can see how small the fasteners are. The two
long ones at the top are from the rear and hold the front plastic fascia
piece that include the volume and power switch. The two small screws
at the top held the keyboard. The two long screws and two small screws
at the bottom held the sheet metal cover under the keyboard. You
can see the corner of the sheet metal cover at the bottom of this photo.
The tiny screw on the right was holding the grounding wire that was attached
to the top of one of the cpu cooler mounting screws. Four of which
you can see are large, shiny and have a spring under the head. The
spring is supposed to push down and squeeze the interface between the cpu
and cooler.
I
placed one drop of new thermal compound onto the cpu and replaced the cpu
cooler and replaced all the components and screws. Here is a photo
of all the screws removed and the tube of thermal transfer compound from
Radio Shack. You can see how small the fasteners are. The two
long ones at the top are from the rear and hold the front plastic fascia
piece that include the volume and power switch. The two small screws
at the top held the keyboard. The two long screws and two small screws
at the bottom held the sheet metal cover under the keyboard. You
can see the corner of the sheet metal cover at the bottom of this photo.
The tiny screw on the right was holding the grounding wire that was attached
to the top of one of the cpu cooler mounting screws. Four of which
you can see are large, shiny and have a spring under the head. The
spring is supposed to push down and squeeze the interface between the cpu
and cooler.
Well after
all that the computer behaves the same. This fixed nothing, except
my curiosity about the internals of the laptop. I will have to investigate
software solutions since the hardware does not seem to be an obvious problem.
Oh well, the thermal compound was less than two dollars, so no big investment
so far. But the saga will have to continue.
 Bottom
view of the laptop, I removed the two necessary screws and set them near
the holes they came from. Note the thread locking compound on the
tips of the threaded portion, this helps the screws stay in by being sticky.
It is red and sometimes blue.
Bottom
view of the laptop, I removed the two necessary screws and set them near
the holes they came from. Note the thread locking compound on the
tips of the threaded portion, this helps the screws stay in by being sticky.
It is red and sometimes blue.